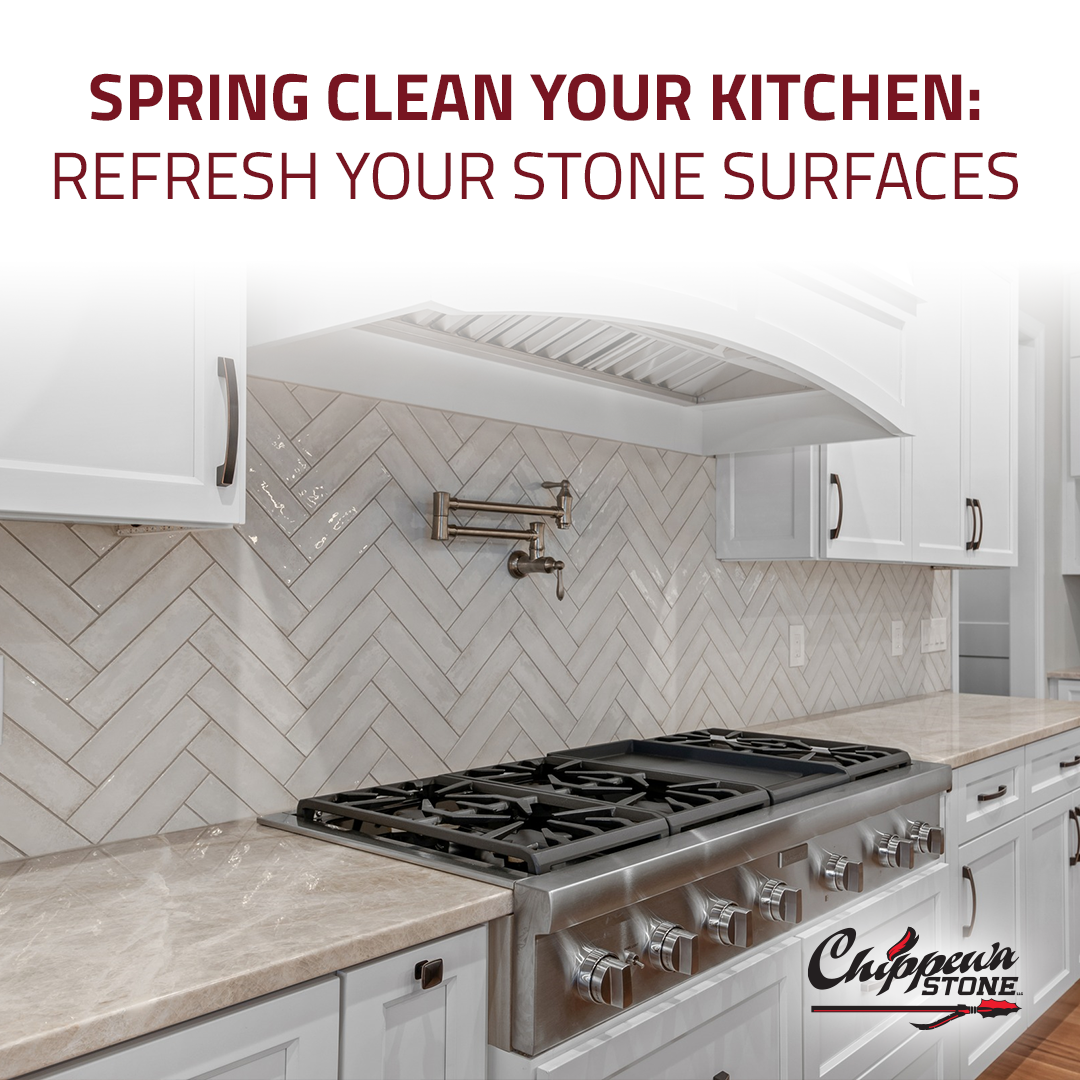
Spring is the perfect time to refresh and rejuvenate your home, and the kitchen is one of the best places to start. As the heart of the home, your kitchen sees a lot of daily activity, making regular cleaning and maintenance essential. If your countertops or backsplashes feature natural stone, special care is needed to keep them looking their best. In this guide, we’ll walk you through the steps to deep clean, protect, and enhance your stone surfaces so your kitchen shines all season long.
Why Spring Cleaning Your Stone Surfaces Matters
Stone surfaces are durable and beautiful, but they require proper care to maintain their luster. Over time, daily use leads to the buildup of grease, grime, and bacteria. Seasonal changes, such as increased humidity in spring, can also affect the condition of natural stone. A thorough spring cleaning helps remove residue, prevents damage, and extends the life of your stone.
Step 1: Gather the Right Cleaning Supplies
Before diving into cleaning, ensure you have the right tools and products. Using improper cleaners can dull or even damage stone surfaces. Here’s what you’ll need:
- pH-balanced stone cleaner (Avoid acidic or abrasive cleaners like vinegar, lemon juice, or bleach)
- Soft microfiber cloths
- Warm water
- Mild dish soap
- Non-abrasive sponge
- Stone sealer (if needed)
- Poultice powder (for stain removal)
- Soft-bristle brush
- Isopropyl alcohol (for safe disinfecting)
- Stone polishing compound (optional, for added shine)
Step 2: Deep Clean Your Countertops
Your countertops are one of the most used surfaces in the kitchen. Here’s how to give them a thorough refresh:
- Wipe Down Daily Debris – Start by removing crumbs and surface dust with a dry microfiber cloth.
- Use a Gentle Cleaner – Mix warm water with a few drops of mild dish soap or use a designated stone cleaner. Wipe the entire surface with a soft cloth.
- Scrub Stubborn Spots – If you notice grease spots or dried spills, use a non-abrasive sponge with your cleaner to gently scrub.
- Disinfect Safely – For an added layer of hygiene, mix equal parts water and isopropyl alcohol in a spray bottle. Lightly mist and wipe with a clean cloth.
- Dry Thoroughly – Water spots can leave marks on some stones, so be sure to dry with a microfiber towel.
- Polish for Extra Shine – If your stone looks dull, apply a stone-safe polishing compound and buff with a soft cloth.
Step 3: Address Stains and Etching
Even with careful maintenance, stone surfaces can develop stains or etch marks. Different types of stone require different treatment approaches:
- Granite & Quartzite: Apply a baking soda and water paste to stains, let sit for 24 hours, then rinse.
- Marble: Since marble is more porous, use a poultice powder mixed with water to lift stains. Avoid acidic cleaners.
- Soapstone: This stone naturally darkens over time, but stubborn stains can be removed with fine sandpaper and mineral oil.
- Dolomite: Use a non-acidic stone cleaner and a soft cloth to lift stains. Avoid harsh scrubbing.
- Quartz: While quartz is non-porous, stubborn stains can be removed with a gentle baking soda paste or diluted hydrogen peroxide.
Step 4: Refresh Your Backsplash
The backsplash often collects grease and food splatters that can dull its shine. To clean effectively:
- Spray with a stone-safe cleaner.
- Use a soft cloth or non-abrasive sponge to wipe away buildup.
- For grout lines, use a soft-bristle brush dipped in warm, soapy water.
- Wipe dry to prevent moisture from seeping into grout.
- Apply a grout sealer if necessary to prevent staining.
Step 5: Seal and Protect Your Stone Surfaces
Sealing your stone surfaces can help repel stains and moisture, especially in high-traffic areas like the kitchen. To determine if your stone needs sealing, perform the water drop test:
- Place a few drops of water on the stone surface.
- If the water beads up, your seal is still effective.
- If the water absorbs into the stone, it’s time to reseal.
When sealing, choose a high-quality stone sealer, apply it evenly with a clean cloth, and allow it to dry fully before using the surface again.
Step 6: Maintain Your Stone’s Beauty Year-Round
After your spring deep clean, regular maintenance will keep your stone looking flawless:
- Wipe up spills immediately to prevent staining.
- Use coasters under glasses and trivets under hot pans.
- Avoid using harsh or abrasive cleaning tools.
- Clean with a soft cloth and stone-safe cleaner weekly.
Bonus Tips for a Fresh Kitchen Look
- Declutter Your Countertops – Store away unnecessary items to create a sleek, spacious appearance.
- Incorporate Fresh Greenery – Small potted herbs or flowers can add a refreshing touch to your kitchen.
- Update Your Lighting – Brighter or warmer light bulbs can enhance the natural beauty of stone surfaces.
- Rearrange Decorative Elements – Adding a new fruit bowl, cutting board, or decorative tray can refresh your kitchen aesthetic.
Refresh Your Kitchen with Chippewa Stone
A clean, well-maintained stone surface not only enhances your kitchen’s aesthetics but also extends its longevity. Whether you have granite, quartzite, marble, soapstone, or another stone variety, proper care ensures your kitchen stays fresh and inviting.
If you’re looking to upgrade or add new stone surfaces to your kitchen, Chippewa Stone offers high-quality natural stone options tailored to your style and needs. Contact us today to explore our stunning selections and expert installation services!
By following these simple yet effective steps, your kitchen will be sparkling clean and ready for a fresh start this spring. Happy cleaning!


