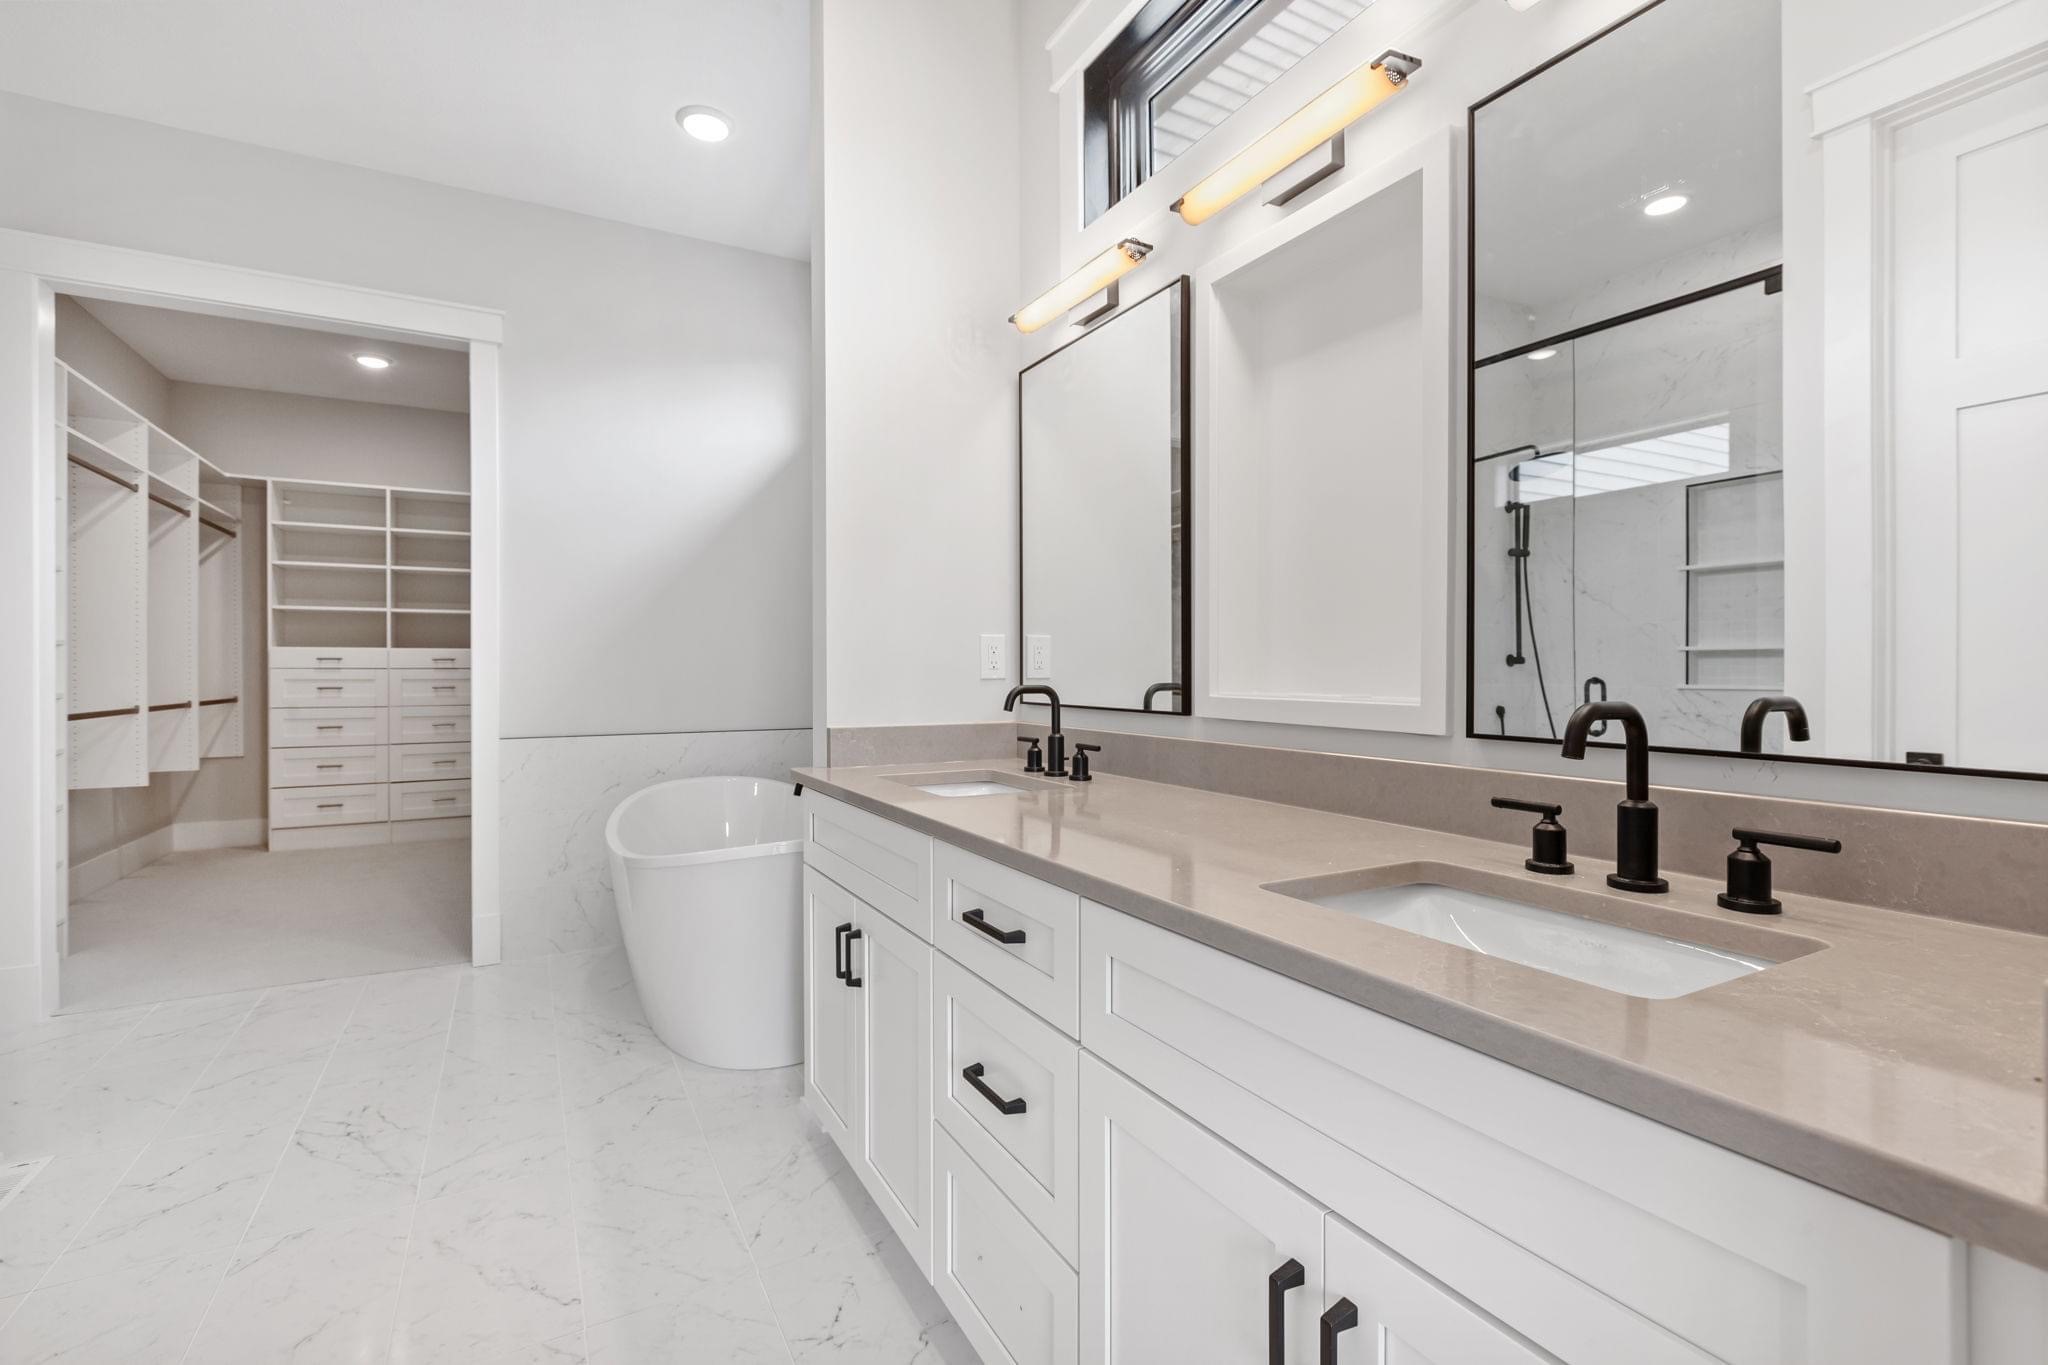
Installing natural stone surfaces like granite, marble, quartz, quartzite, or soapstone is an exciting step in any home improvement project. Whether you’re updating your kitchen countertops, designing a custom vanity, or adding a stone feature wall, preparing your home properly can make all the difference between a smooth, stress-free experience and one filled with unexpected hiccups.
This blog will walk you through the full process—from templating to installation—to help you understand what to expect and how to get ready for your new stone surfaces. At Chippewa Stone, we want every client to feel informed, confident, and excited when transforming their space.
Why Preparation Matters
Stone surfaces are a major investment in your home’s beauty and function. Preparing your space ahead of installation ensures:
- Accurate measurements
- Efficient fabrication
- A smoother install day
- Fewer delays or changes
Being proactive about preparation helps your project stay on time and on budget, with fewer surprises.
Step 1: Initial Measurements & Consultation
The process begins with an initial consultation and rough measurements of the space. This is when you meet with your stone supplier or fabricator (like Chippewa Stone) to discuss your needs, style, budget, and preferences.
Things to Consider During This Step:
- Type of stone (granite, quartz, quartzite, marble, etc.)
- Color, veining, and finish (polished, honed, leathered)
- Edge profiles
- Backsplash or waterfall features
- Seam placement
Although these measurements are not final, they help estimate pricing and start your design vision.
Step 2: Choosing Your Stone Slab
Natural stone is unique—no two slabs are the same. That’s why it’s crucial to choose your exact slab(s) in person when possible. Your final decision should be based not only on color and pattern but also how those elements flow within your layout.
Pro Tip:
Bring cabinet, flooring, and paint samples when slab shopping to see how everything coordinates under natural light.
Step 3: Scheduling the Templating Appointment
Templating is one of the most important steps in the stone installation process. It involves creating an exact digital or physical model of your surface to ensure the final product fits perfectly.
How to Prepare for Templating:
- Base cabinets must be fully installed and secured before templating.
- Appliances (sinks, cooktops, ranges, dishwashers) should be on-site. Your templater needs to measure and note all cutout specifications.
- Make sure someone with decision-making authority is present during the appointment. Final details like overhang, edge profile, and seam placement will be confirmed.
- Clear countertops of clutter to allow full access to the surfaces.
Step 4: Fabrication
Once templating is complete, your template is transferred directly to your chosen slab at Chippewa Stone‘s in-house fabrication facility. Our experienced team handles every aspect of the fabrication process with precision and care, ensuring your stone is expertly customized to fit your space.
What Happens During Fabrication:
- Exact dimensions are cut into the stone using advanced machinery
- Sink, faucet, and appliance cutouts are made to match your specs
- Edges are shaped and finished based on your selected profile
- The stone is sealed (if needed, depending on the material)
Because fabrication is completed by the same team that manages your installation, we ensure quality control at every step. Typical turnaround time is 7–10 business days, depending on the complexity of your project and our schedule. Throughout the process, our team keeps you informed so there are no surprises—just beautiful results.
Step 5: Preparing Your Home for Installation
With your stone pieces ready, it’s time to prepare your space for installation day.
Pre-Installation Checklist:
- Clear the area: Remove all items from countertops, cabinets, and nearby surfaces.
- Protect adjacent spaces: Cover furniture or flooring near the install zone to prevent dust or accidental damage.
- Ensure access: Make sure installers can easily move from the driveway to the install location. Clear walkways and remove any tripping hazards.
- Plan for noise and downtime: Stone installation can be loud and may limit access to certain areas of your home for a few hours.
- Secure pets and children: For their safety and to minimize distractions, keep pets and small children away from the work area.
- Plumbing & Electrical: Arrange for a plumber or electrician to reconnect any appliances or fixtures after installation, if needed.
Step 6: Installation Day
On the day of your installation, a professional crew will arrive with your custom stone pieces, tools, and adhesive. Most installations take just a few hours, but the time can vary based on the size and complexity of the job.
What to Expect During Installation:
- Installers will set each stone piece in place, making sure everything fits properly.
- Seams will be joined with color-matched epoxy and polished to blend with the stone.
- Edges and overhangs will be checked for accuracy and support.
- The stone will be cleaned, and a final inspection will take place before completion.
Post-Install Tips:
- Avoid using your new countertops for at least 24 hours to allow adhesives to cure.
- Don’t install heavy items or mount fixtures (like faucets) until fully cured.
Edge Profile Options
Choosing the right edge can change the entire feel of your countertop. At Chippewa Stone, we offer both included and upgraded edge profiles.
Included Profiles:
- Pencil Edge
- 1/4 Round
- 1/2 Round
- 1/4 Bevel
- 1/2 Bevel
- Demi Bullnose
Upgrade Profiles:
- Full Bullnose
- Ogee Edge
- Chiseled Edge
Ask your fabricator for samples or mockups if you’re unsure which style complements your design best.
Aftercare and Maintenance
Congratulations—your new stone surface is in place! But to keep it looking great, follow a few simple maintenance tips:
Daily Care:
- Wipe with a soft cloth and a pH-neutral cleaner
- Avoid abrasive scrubbers and harsh chemicals
Sealing:
- Natural stones like granite and marble may require annual sealing
- Quartz and soapstone typically do not need sealing
Stain Prevention:
- Use coasters, trivets, and cutting boards
- Clean spills promptly to avoid staining or etching
Common Questions We Hear at Chippewa Stone
How long does the whole process take?
From initial consultation to install, the typical timeline is 2-3 weeks, depending on complexity and material availability.
Can I reuse my old sink or appliances?
Yes, but be sure to have them available for templating. Exact measurements are crucial to ensuring a perfect fit.
Will there be visible seams?
Seams are often necessary for large pieces or L-shaped layouts. Our team color-matches epoxy and carefully polishes seams for a subtle finish.
Can I install stone surfaces myself?
We strongly recommend professional installation. Natural stone is heavy, fragile, and requires specialized tools to cut, place, and finish properly.
Why Choose Chippewa Stone?
With decades of experience and a passion for quality craftsmanship, Chippewa Stone is your trusted partner for custom stone projects. We walk you through every stage, from selecting the right material to final installation. Our team is known for expert templating, precise fabrication, and flawless installs.
Visit our showroom to explore our wide variety of stone slabs and get inspired for your next project. Whether you’re a homeowner, designer, or contractor, we’re here to bring your vision to life with beauty and precision.
Final Thoughts
Preparing for a stone surface installation doesn’t have to be overwhelming. With the right guidance and a knowledgeable team, you’ll enjoy the process and love the results. From templating to installation, being prepared helps everything run smoothly and ensures your investment is protected.
Ready to start your stone journey? Contact Chippewa Stone today—we’re here to help every step of the way.

